US projector buying guide
Backyard Movie Night: A Projector Setup Checklist That Works
A backyard movie night works best when you plan the whole setup: screen, projector position, sound, power and the movie source. Buying a projector is only one part of it. Start with a dry evening after sunset and a screen size that fits the yard comfortably.

The most useful rehearsal is simple: play part of the actual movie from the actual device in the actual location. It catches weak Wi-Fi, incompatible mirroring and quiet dialogue while you still have time to fix them.
Choose the viewing time before the screen size
Outdoor light is difficult to control. A projector adds light to a surface; it cannot remove daylight already falling on that surface. Plan the screening after sunset and turn off or redirect nearby lights that shine onto the screen.
Do not interpret a manufacturer lumen claim as a promise of a good daytime picture. Different brightness labels may use different methods, and screen area also matters. Keep the first setup manageable, then enlarge the image if the conditions and the projector allow it.
Test from the back row at your planned start time. If the picture looks faded, first reduce competing light or choose a smaller image. Increasing a brightness setting cannot solve every lighting problem.
Why a smaller outdoor screen can be the better choice
At the same aspect ratio, screen area increases with the square of the diagonal. Moving from 100 inches to 120 inches creates 44% more image area. In a simplified example with the same light reaching the image and the same screen material, that spreads the light to about 69% of the light per unit area. Real results also depend on the lens setting, screen and projector mode.
This calculation does not predict a particular model's brightness. It explains why making the picture larger can be the wrong response to a washed-out outdoor image. Start with a size everyone can see, reduce light falling on the screen, and enlarge only if the actual picture remains useful.
Give the screen a stable, useful position
Place the screen where people can see it without looking through the projector beam. Leave a walking route around the seating and equipment. Keep it away from the grill, sprinklers and places where children will be running.
A taut screen usually makes alignment easier than a loose sheet. If you use a sheet, wrinkles and movement can distract from the image. Follow the screen manufacturer’s anchoring instructions; a large screen can catch wind. Pack up if conditions become unsuitable.
A 100-inch 16:9 image is approximately 87.2 inches wide. A 120-inch image is about 104.6 inches wide. The frame or stand needs additional space. Use our screen and throw-distance guide to plan lens placement rather than guessing from the projector’s maximum advertised image size.
Keep the projector dry, stable and ventilated
Use a stable surface and leave the clearances stated in the product instructions. Keep the lens and vents unobstructed. Avoid improvised covers or tightly enclosed boxes that can trap heat.
BOSS projectors are not weatherproof. Outdoor use requires dry conditions and protection for the projector, power supply and connections. Do not continue if rain or condensation threatens the equipment, and bring it indoors when the screening is over. An “outdoor movie” use case is not a weather-resistance rating.
Before anyone arrives, square the lens to the screen, set the image size and focus. Use the opening credits or a menu to inspect smaller text. Make physical adjustments first and use keystone correction only as needed.
Check temperature and condensation
Follow the operating-temperature and storage limits in the exact model’s manual. Dry weather alone does not make a cold evening suitable. Moving equipment between cold outdoor air and a warmer indoor room can cause condensation; follow the manufacturer’s warm-up and drying instructions before powering it on. Allow the acclimatization and drying time specified in the manual before use; keep damp equipment powered off.
Plan the power route
Use a suitable outlet and follow the instructions for the projector and power equipment. Keep cables away from water, pinch points and walking routes. Do not make a long chain of power strips to reach the screen.
The US Consumer Product Safety Commission advises using extension cords marked for outdoor use for outdoor equipment. Check condition and load ratings; a damaged cord should not be used. See the CPSC’s extension-cord safety guide. If you are unsure whether the available outdoor electrical setup is suitable, have a qualified electrician check it.
Check dialogue from every seat
A speaker that sounds loud indoors can be less effective outdoors, where sound is not reinforced by the room in the same way. Test spoken dialogue, not just music or the loudest action scene. Walk to the furthest chair and adjust the arrangement before adding more volume.
A compatible external speaker can help. Check which wired or Bluetooth audio connection the projector and speaker support. Bluetooth can introduce lip-sync delay, so watch a speaking face when testing. A supported wired connection may be more predictable for a particular combination of devices.
Place speakers so the audience can hear without unnecessarily directing sound toward neighbors. Check local quiet hours and choose a finishing time that fits the location. Lowering background noise nearby may improve intelligibility without turning the volume up.
Test streaming where the projector will stand
Your yard can have a different Wi-Fi signal from your living room. Connect the streaming device in its final location, start the movie and let it play. Open the app before the event to catch an expired login, update or subscription problem.
When the app allows downloads and the chosen device supports playback to an external display, an authorized download may help with unreliable internet. Test that arrangement first: the ability to download inside an app does not guarantee that the app permits every external display or mirrored connection.
For a phone source, check both the phone’s video-output capability and the app’s restrictions. A compatible HDMI streaming device can simplify playback, but still needs its own power and network connection. Our phone connection guide explains the difference between a charging connector and a supported video output.
Run this rehearsal before inviting guests
- During daylight: position and secure the screen according to its instructions, route power away from walking areas, and make sure every required adapter and remote is present.
- At the planned start time: play a dark scene and a subtitled scene from the actual movie. Check them from the back row; a bright menu alone is a weak picture test.
- Check a full conversation: confirm dialogue volume and lip-sync, then walk toward the property boundary to assess spillover.
- Test the source again: pause, resume and seek within the movie. Confirm the streaming device has stable power and that the app stays connected.
- Set the stop condition: move indoors if rain, condensation, unsafe wind or temperatures outside the equipment's stated range develop.
For power, CPSC recommends an outdoor-rated cord with adequate capacity and GFCI protection; see its extension-cord guidance. This does not make a projector or exposed connection weatherproof.
Pack for the setup you tested
| Part of the setup | Check before the evening |
|---|---|
| Picture | Projector, screen, stable placement, focus and remote batteries |
| Source | Streaming device or supported phone adapter, HDMI cable, app login and power |
| Sound | Compatible speaker, cable or paired Bluetooth connection, dialogue and lip-sync test |
| Power | Suitable outdoor supply, correctly rated equipment, dry connections and safe cable route |
| End of evening | Time to cool and pack the equipment according to its instructions before moisture develops |
Choose the model around the arrangement
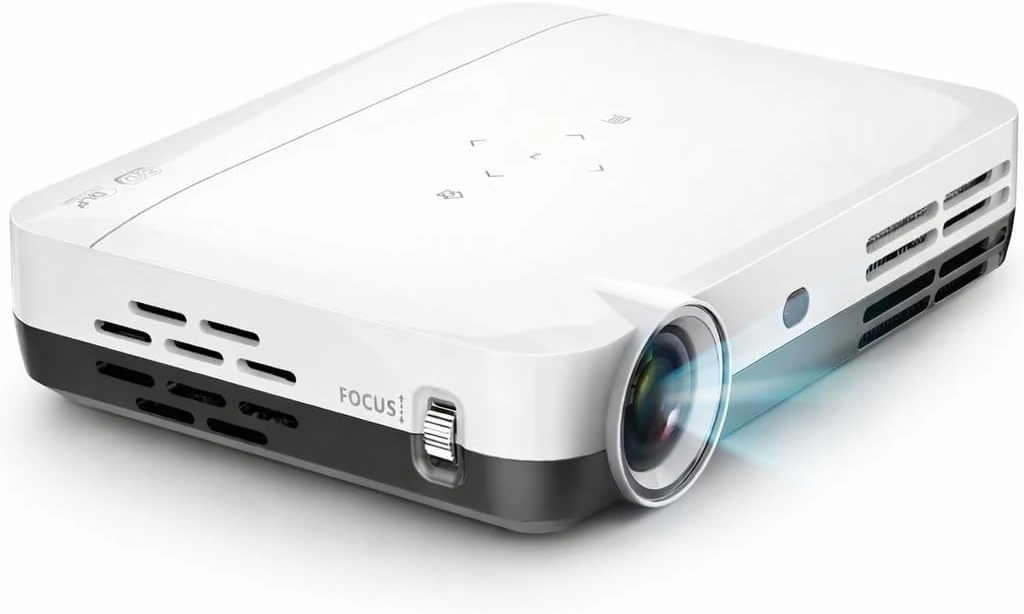
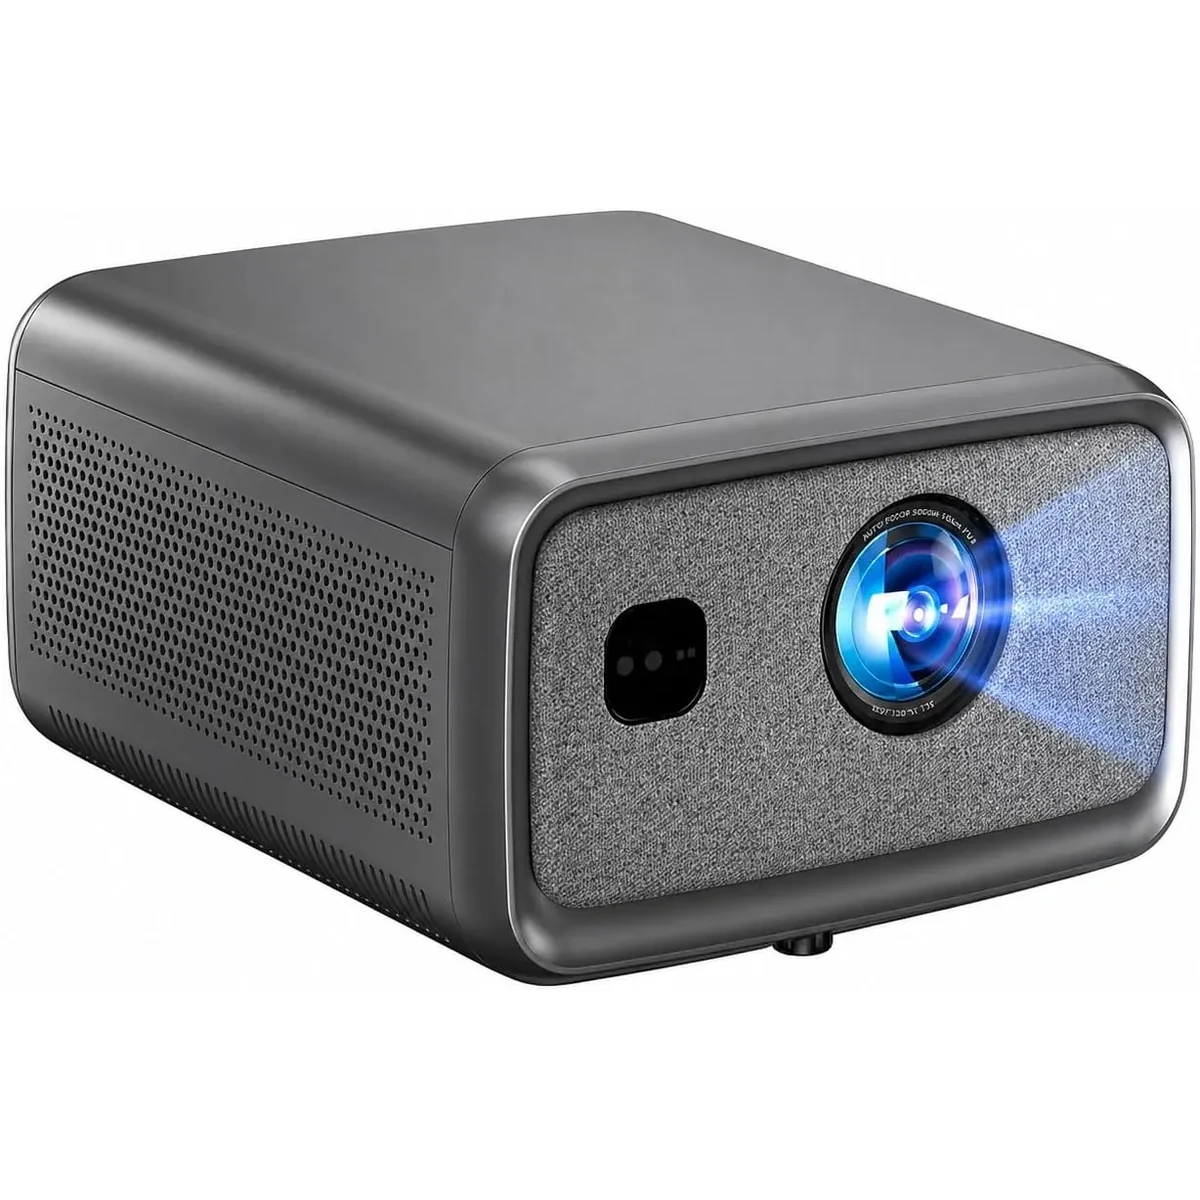
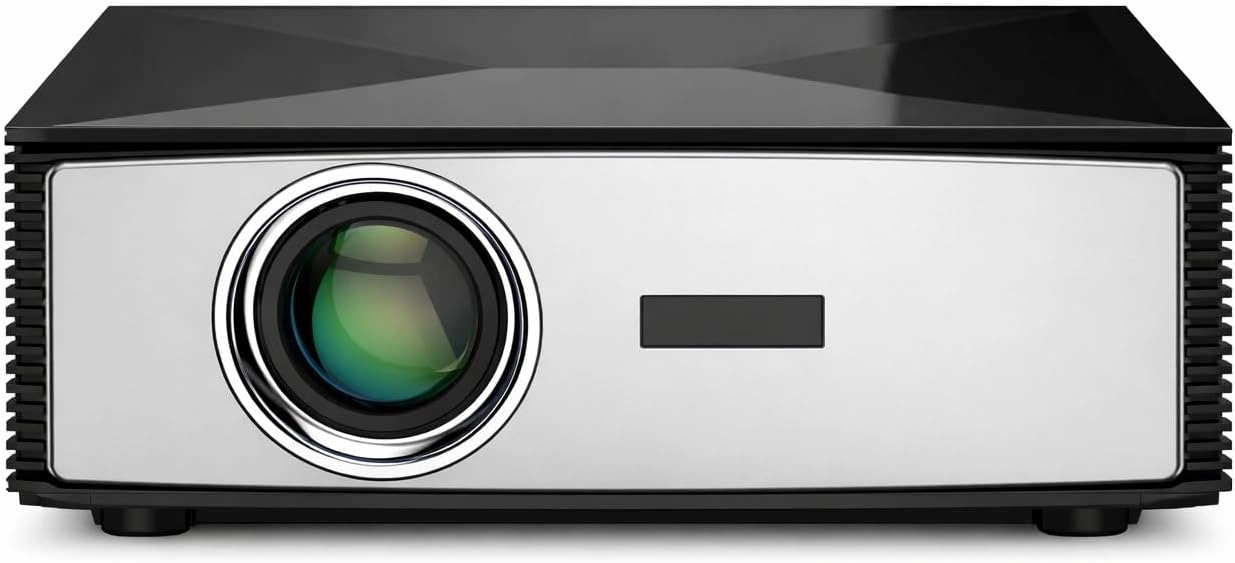
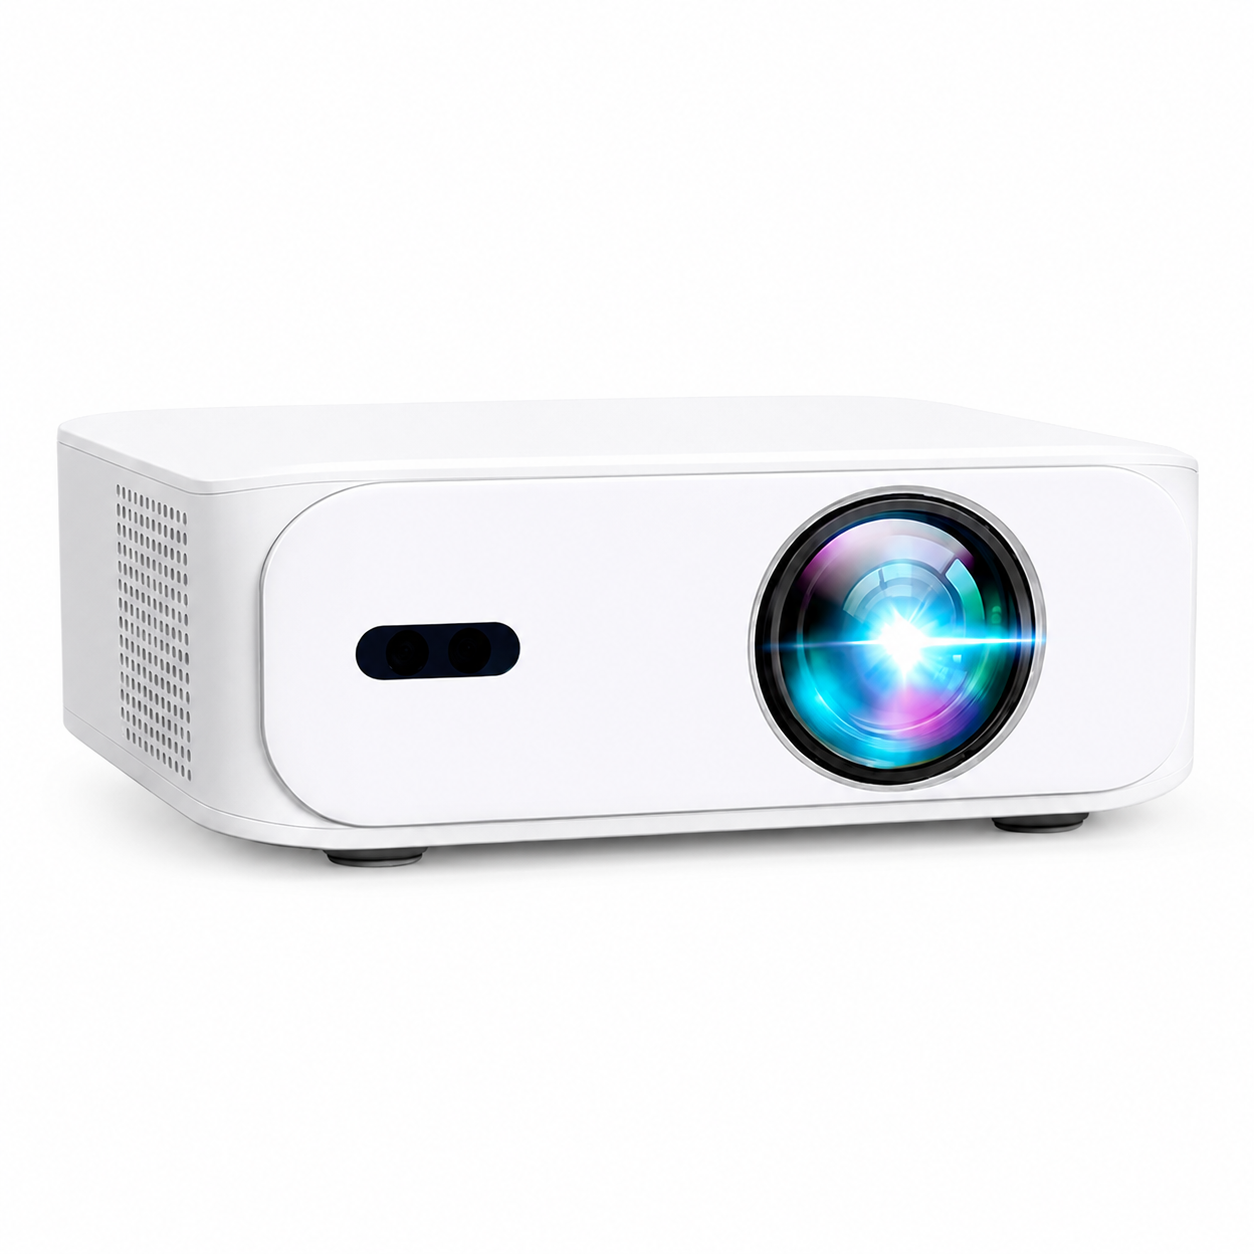
Compare portability, source connections, focus controls, native resolution and available placement distance. Compare native or output resolution separately from compatible input resolution. In the BOSS Projectors range, S7 has 4K UHD output; S8A is native Full HD with compatible 4K input.
The US direct prices are A5 $199, S6A $429, S7 $749 and S8A $899, all in USD. Eligible direct orders include free express shipping from a US warehouse. Compare the four models and the current bundle contents before ordering.
After the first rehearsal, write down the projector position, screen size, source input and speaker setting that worked. Next time, you can repeat the arrangement instead of troubleshooting it with guests waiting.
Current models and prices
Explore the current models
Review the key specifications and current prices. Open a model for the full details.